Crueltis & VX Condition
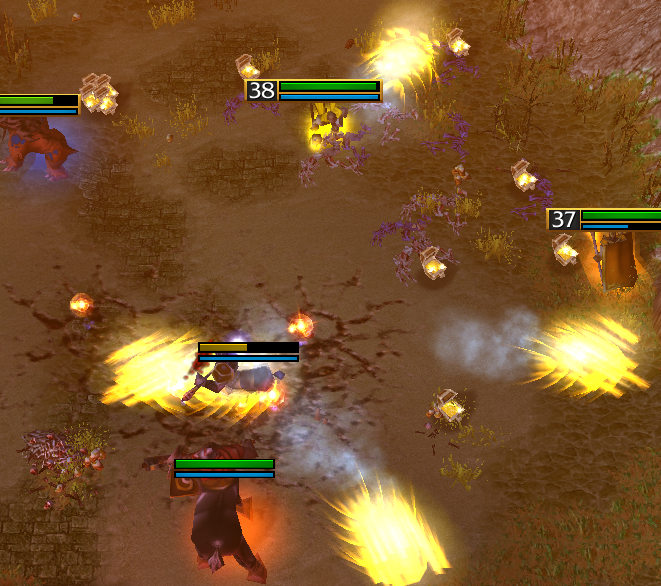
The Boss will only be fighting with the Tauren Ghost and does not need to be tanked. However Crueltis has a Cleave and will deal damage to players adjacent to the Tauren. Periodically Crueltis will announce to Shockwave the Tauren, to which the Tauren will relocate. Avoid the Shockwave, which deals high damage, and reposition to according to the Taurens new position. This will repeat throughout the entire fight.
VX Condition: Adds spawning throughout the fight can not be killed by the players, but are required to be killed by the "Dark Screen".
Phase 1 - Light Spots & Dark Screen
For each player in the arena, there is going to spawn a Pillar of Light (or Light Spot), each player needs to find one Pillar and Hold Position on it. The screen will become darker and at the end, every Player or Centaur who is not in a Light Spot, will die. Try to be mindful of players with lower movement speed to give them easier spots. This mechanic will repeat throughout Phase 2 as well.
VX advice: Try to have the Tank and Healer be next to each other, to provide healing vs. the Centaur damage during the "Dark Screen".

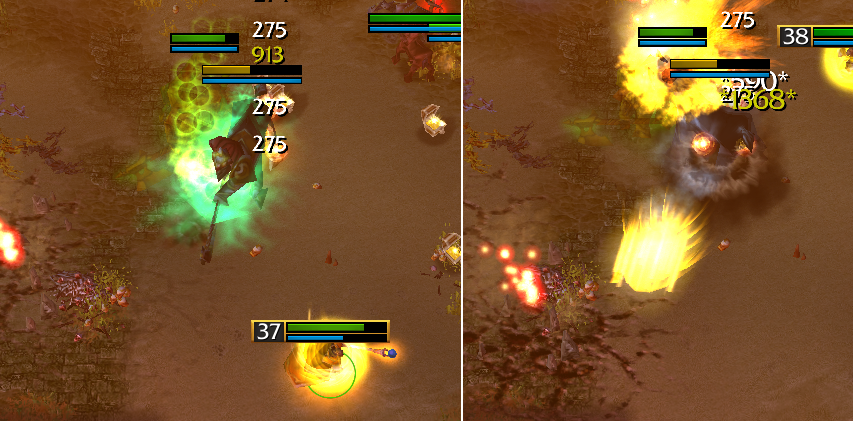
Phase 2 - Centaur Spawns Kiting & Earthquake
Centaur Spawn: After each "Dark Screen", three Centaur will spawn. Players should come together after each "Dark Screen", so the Tank can pick up the adds. You can choose to kill the adds for a non-VX kill or have the Tank kite the Centaur around the arena and wait for the "Dark Screen" to kill them, which also fulfills the VX condition.
Note: Avoid using stun-like effects until the tank lured the Centaurs away from the boss. Otherwise it will bug the adds and make them focus on the Tauren, even when the Tank has aggro. This makes it impossible to DPS Crueltis with AoE abilities when attempting VX Mode.
Similar to the Centaur you found in the Valley of Centaurs, these three Centaurs have three abilities: Shockwave: A medium damage shockwave at a random player. Rain of Arrows: A series of low damage arrows at a players location. Snakes: At two random players for low-medium damage.
Be aware of potentially getting targeted by these abilities, when the tank is kiting past the party. Attempt to not get Combo'd by the Earthquake or Starfall and these abilities (Phase 3)
Earthquake: After each "Dark Screen" in Phase 2, Crueltis will spawn a slow moving Earthquake in the arena. Standing in it will deal low-medium damage and should be avoided. (You can use the command -fog to make the arena more visible.) The more DPS you do to the boss in this phase, can help you to prevent a 2nd Earthquake to spawn for Phase 3.
VX advice: When kiting the adds, make sure to run alongside the edge of the arena so the Adds don't die to AoE from the Party, but also do not hug the wall, to avoid being surrounded by the adds or getting blocked. The tank should equip movement speed to make this job easier, possibly use an Elixir of Swiftness. It is also possible to attempt to run a U shape to avoid running into the party, so the Centaur's abilities don't combo up on someone, but this will mean that the Tank will get hit when turning. The healer should attempt to remain calm throughout this and next phase and focus on avoiding damage correctly, whilst healing the Tank only when he comes into range..
Earthquake spawn after 2nd light phase at any spot on arena and moves slowly random directions, avoid it. Depends on your DPS between 1st & 2nd light phase 2nd EQ can spawn too.
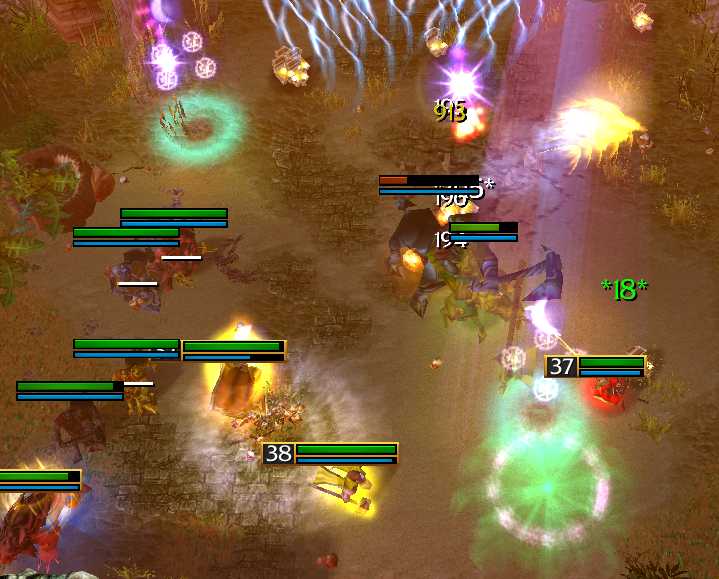
Phase 3 - Centaur Spawn & Starfalls
At 30% to 25% of Boss HP, the last Phase will begin.
Centaur Spawn: At the start of this Phase, 4 Centaur will spawn - this spawn will not give you time to group and collect them as easily as in Phase 2. These Centaur are similar to the Centaur before, but will be far more dangerous as you won't have a "Black Screen" to deal with them. For VX, you are required to kill the Boss, without killing them, before they kill you.
Note: If you transitioned into the phase after a "Black Screen", 4 new Centaur will spawn. If you transitioned into the phase without a "Black Screen", only 1 Centaur will spawn, making it a total of 4.
Starfall: No new Earthquakes will appear, but the ones spawned in Phase 2 will remain. On top of that, Starfall circles will appear and after roughly 2 seconds they will deal medium damage to anyone standing in them.
Shockwaves: The boss will cast Shockwaves on the Tauren much faster now, and will deal lethal damage. Avoid them at all cost. This also means the Tauren will relocate much more often. Be mindful of his location. A tip here is for Ranged Heros also not to stand in front of Crueltis to preemptively avoid the Shockwave
This phase is hectic and requires you to stay calm. Attempt to avoid Shockwaves, Earthquakes and Starfalls in that order and savely DPS the Boss and don't panic. Keep attention avoiding the threats, heal the Tank when he is in range. You might want to avoid placing Smokescreens on the boss, as it makes seeing the Earthquakes impossible for Melee.
If you attempt to kill him NON-VX, you may want to try to kill the Centaur. This is only advisable if your party has good AoE damage, as you might as well kill the Boss in the same time.