ACT 1

Tol’Calm

Main Quests

1 - Village Elder

After picking a hero and entering first town talk to the Royal Guard. Find Village Elder top left area, near circle of power. New quests will be unlocked.

2 - Restoring the Portal - Giver "Portal Master NPC" (prerequisite Village Elder)

Deliver the Sealed Scroll to the Vormur Portal Master. “Unlocks status 1 - Allow Warping between towns”. Later go talk to the Cleric at Vormur Temple (at the top of the map) for next quest line "Proving Your Worth"

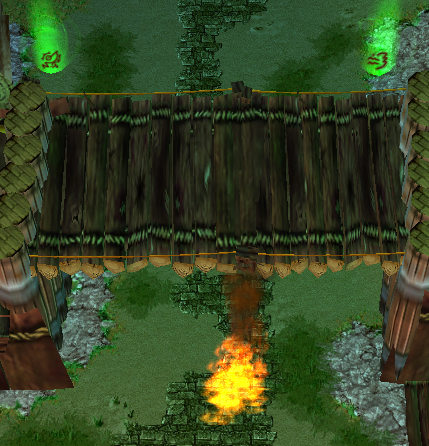
3 - Knock Knock - (prerequisite Village Elder) - "Require to access to the next town"

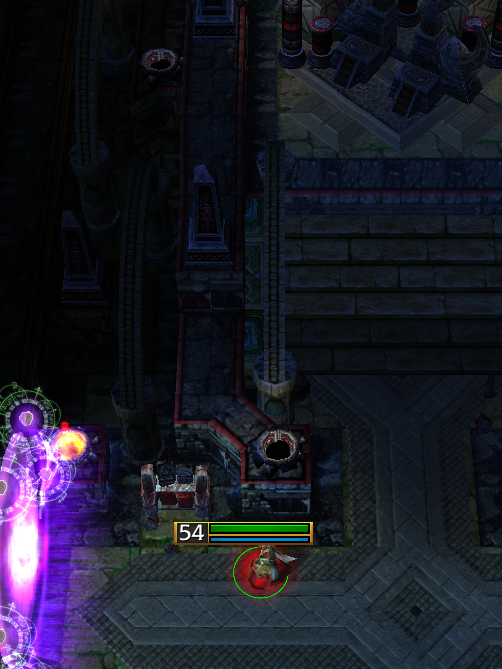
Talk to Royal Guard standing front of the closed gate, find and slay Crizzy to unlock temple gates.

Side Quests

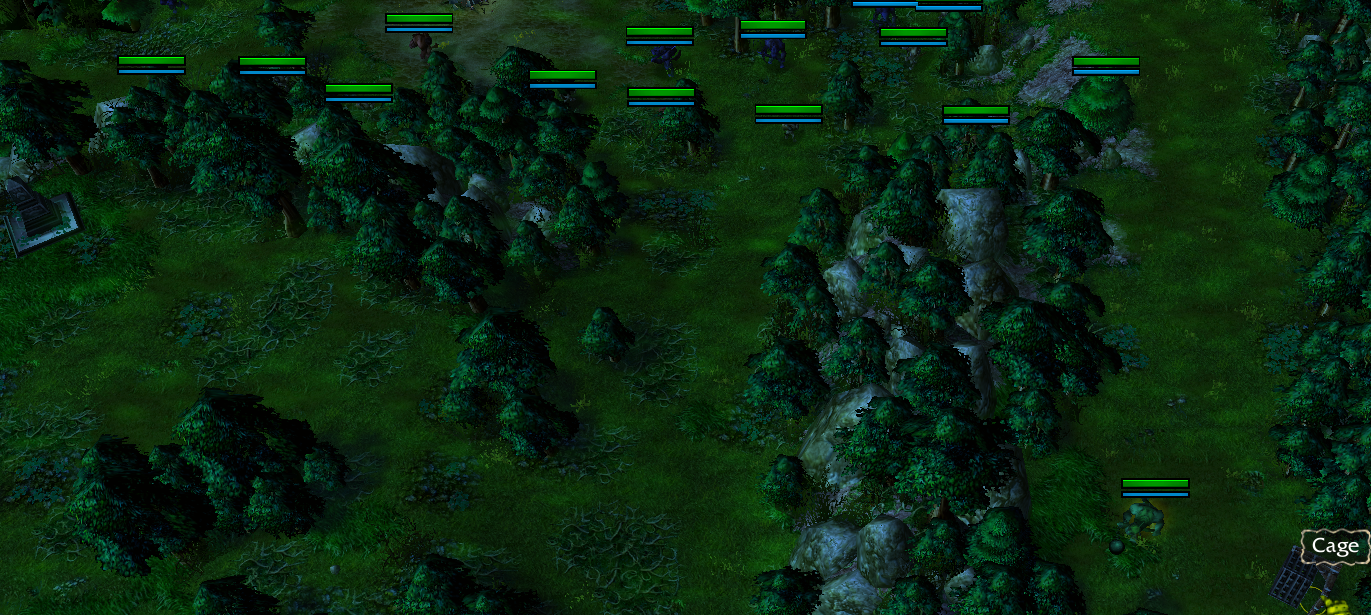
1 - The Gnoll Threat

Talk with Soldier who stands at the exit of town between two towers. He wants you to slay different type of gnolls in Vormur Forest.

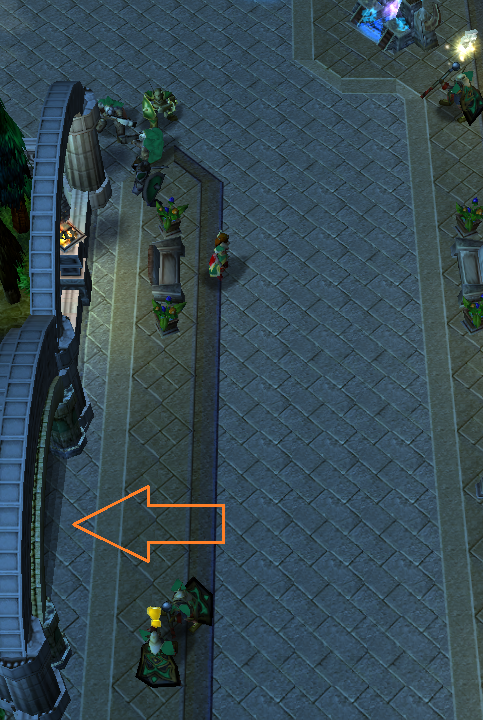
2 - Save My Baby! - Giver "Nancy"

Talk to Nancy she’s left side of “hero saver NPC”. She asks you to rescue her child, who is trapped in a cage near the orc camp in the Vormur Forest.

3 - First Class Mail - (prerequisite Village Elder)

Right side of the Village Elder there is a Female Villager. Deliver the letter to Loric at Vormur Temple.

Part II - After taking "Proving Your Worth" quest. All quests below can be taken near Gate area.

1 - Wanted: Krix - Giver "Royal Guard, right side"

SW corner you can find him along with other scorpions.

2 - Detoxification - Giver "Npc Cleric"

Slay the Black Widow and bring her Venom Sac to Cleric.

3 - Radiation Poisoning - Giver "Priest Harris"

Find Barrel of Explosives before entering the cave you will see a small area on your top its in there. Find Radioactive Crystals and "interact" with it keeping explosive in your active bag slot.

4 - My Expensive Equipment! - Giver "Surveyor Richard"

Slay Sludge Mutant get the Equipment and return back to its owner.

Vormur Temple

Main Quests

1 - Proving Your Worth - Giver "Cleric NPC"

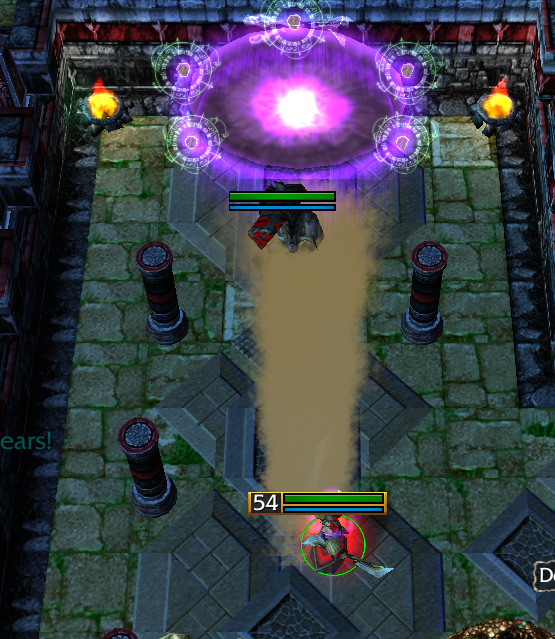
Get the Tol’Calm Cave key from priest, go first town unlock the gate (NE) then slay the Brood Mother. Go back to location where you took the quest and talk to the other Priest (disables barrier to get into Vormur Gardens) for the next quest line.

Reward: Offhand item related your class. After unlock the barrier enter Vormur Gardens to get Status 2.

Side Quests

1 - Wanted: Razzick - Giver "Captain Renault"

Slay Razzick and his band of gnolls in the Vormur Forest NW area.

2 - Medicinal Purposes - Giver "Priest Thadious"

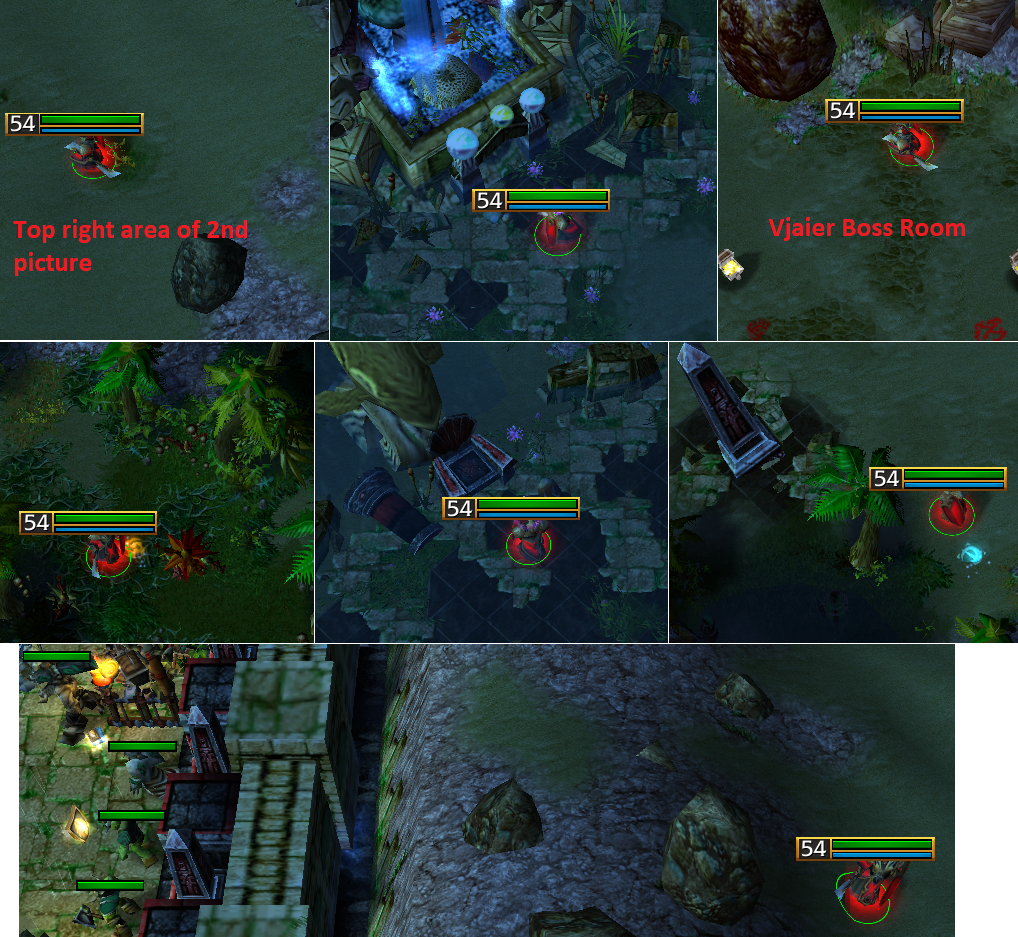
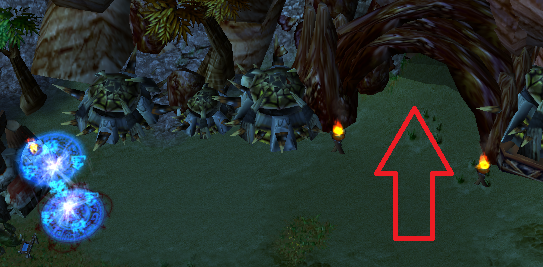
Find 6x Plant & Herb samples (Strange Herb) scattered around Vormur Forest , and give it to Priest Thadious.

1) North little left side of gnoll camp.

2) After exit from 1st town bottom left.

3) East, right side of the lake.

4) West, little left of campfire.

5) Where you rescue the Nancy's child.

6) Near obelisk on the hill area.

3 - Training Grounds - Giver "Harvil"

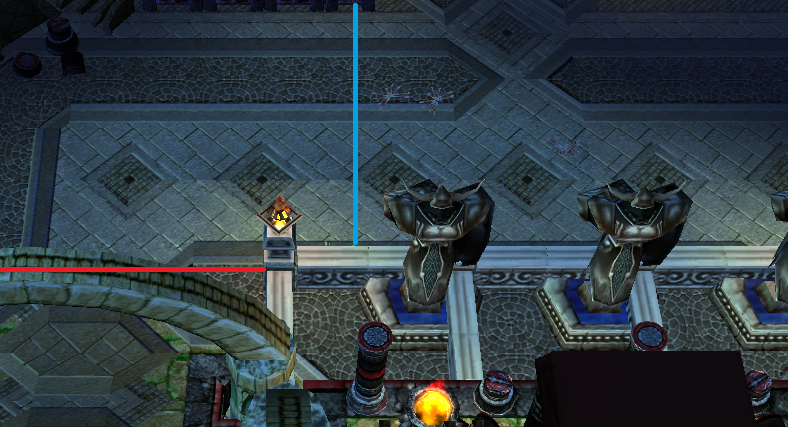
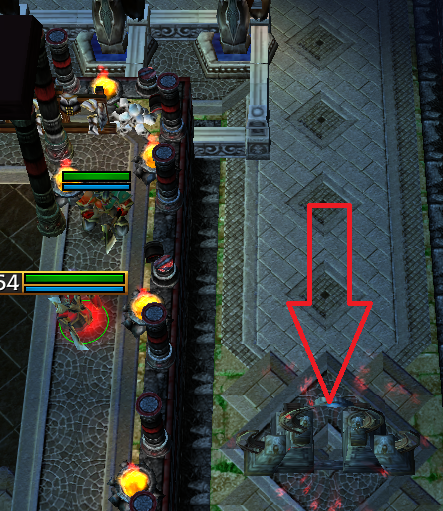
Find the Training Grounds. Enter via hidden entrance or use Vormur Portal Master to find.

4 - Eggtastic - Giver "Priest Jarod" - (prerequisite Proving Your Worth)

Collect 5x Mutated Eggs from Tol’Calm Cave and give it to Priest Jarod. Each of them are surrounded by dozens of mini eggs.

5 - Tol’Calm Cave Infestation - Giver "Soldier Thomas" - (prerequisite Proving Your Worth)

Slay different kind of spiders inside Tol'Calm Caves.

6 - The Investigation - Giver "Sorcerer Jenida" - (prerequisite Wanted: Razzick)

Use the Wand of Summoning front of the obelisk at Vormur Forest. After slay mini boss return back for reward.

Vormur Gardens

Main Quests

1 - The Betrayal - Giver "Cleric"

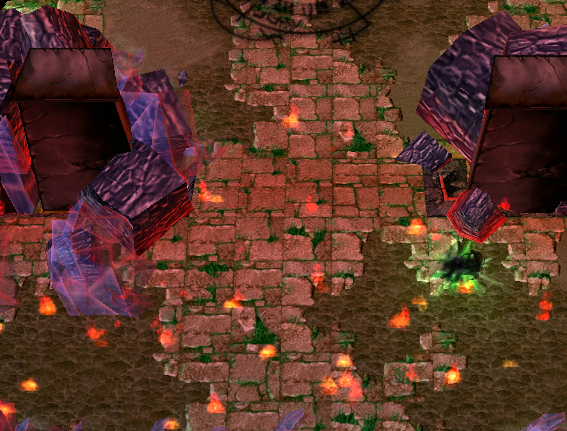
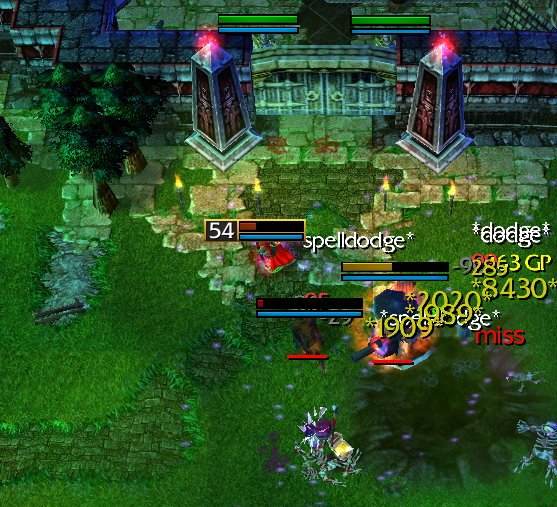
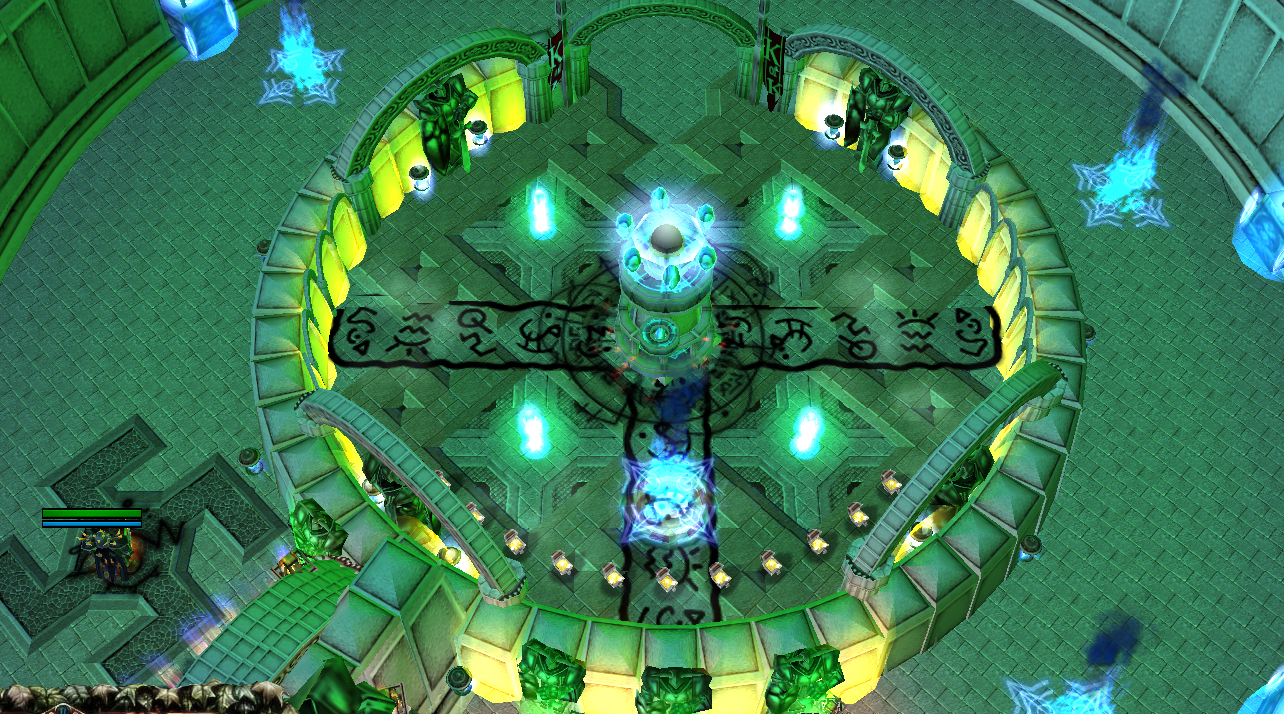
Slay Narith, and talk with High Priest. South of Tol'Calm enter the opened gates to unlock status 3. Its enough for 1 player to enter the Tol'Calm Front Gate to unlock st3 for all players.

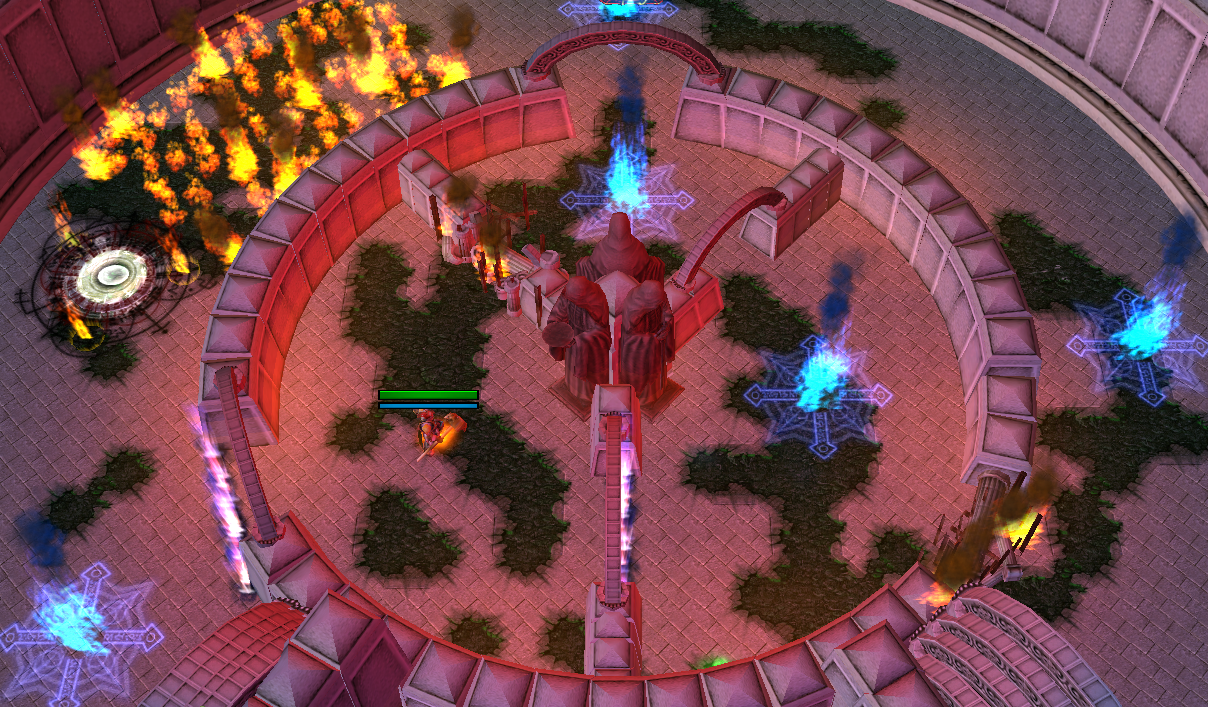
2 - The Vormur Corruption - Giver "Captain Barrith"

Slay all elemental zombies (Fire>Lightning>Frost>Poison) in order to proceed further in dungeon. Each slayed zombie unlocks the next corresponsive door inside catacombs to proceed further.

Flame Corpse > Frontal fire waves, immolation, fire explosion on random player creating DoT on the spot if stand on it.

Lightning Corpse > Dot on all players inside that room, when he stops auto attack starts to cast a spell sending grayish orb like sparkles towards nearby all players follows them until certain distance. Tank him at corners to corner each time to avoid easily.

Frost Corpse > DoT on all players inside that room, frost explosion occurs all time, sends an ice orb which explodes after some time deals moderate damage. Slow aura which reduce all players move speed by -48.

Venom Corpse > DoT on all players inside that room, spawn a poison cloud on random player each 10 second does DoT.

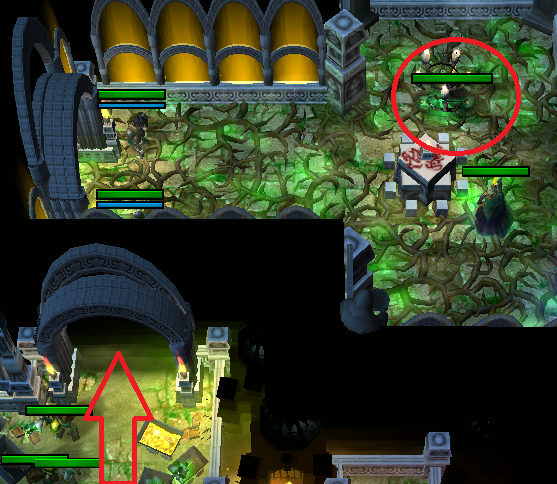
The Vormur Corruption & The Betrayal: Taking both quests destroys the wooden crates on your left and allows you to enter the new region.

Side Quests

1 - Spirits Gone Wild - Giver "Soldier"

Slay red/green/black/blue spirits. Focus on Green > Red first.

Red > Casts flame strike

Green > Heals other wisps

Black > DoT around him whoever gets close

Blue > Ice Nova AoE

2 - Books of Value - Giver "Trainee Priest"

Collect 4 books inside the Library.

3 - Unexplained Evil - Giver "Gunman Smith"

Clear the catacombs from all undead beings. Those blue flames you will encounter inside the dungeon when get close to them summons pack of undead.

4 - Save the Fallen - Giver "Gunner"

Use Wand of Separation near fallen soldiers.

5 - Put Them To Rest - Graveyard Area given by Ancient Ghost

Use Wand of Dispersion near the white orbs to slay zombies you spawned.

ACT 2

Tol'Calm Front Gate - Jahara Barrens

Main Quests

1 - Beyond Our Gates -

2 - Centaur Lords - Giver "Royal Guard, left side"

Slaying all centaurs in the each camp will spawn Lords. Total 4x centaur lord for each camp and each of them drop Keystone Fragment.

Left top corner camp "Stormlord Larik" > Spawn a cloud on a random player deals DoT whoever touches it. Sometimes drains the players mana.

Left middle camp "Wraithlord Krogo" > Throw a net on all players does DoT

Left bottom camp "Warlord Krant" > Throw a rock on all players stuns them few second, cleave attacks & creates an earthquake under their feet, and it ends after it happens a few more times "needs to be kited".

Camp at the middle right edge of map "Windlord Matrix" > Spawns a tornado moves around deals some damage on touch, spawns a quicksand under feet of a random player stuns for 4 second also does DoT.

3 - Missing Caravan - Giver "Knight Davion"

Bottom of the region you will find them. Talk to "Knight Harwick" this will start next quest "They're Coming Right At Us" after clearing all 7x centaur wave, mini boss "Warlord Juntar" will spawn he cast throws Net on all players does DoT, cleave attacks & he also creates an earthquake. After slaying him will drop Orb of Disruption, now go to WEST and get close to Sand Golem to awaken the boss by keeping orb in your bag slot. After defeat the boss barrier will be disabled and allows you to enter Grom'Gol "orc town". Give Keystone Fragments to shaman left side of Chieftain Grak'tol.

Side Quests

1 - Infected Coyotes - Giver "Trisha"

Slay coyotes to get vials, need 3 of them.

2 - Infected Scorpions - Giver "Sylvia"

Slay scorpions to get vials, need 3 of them.

3 - Desert Oasis - Giver "Morice"

Find and bring 2x Oasis Water Sample to him. One is near obelisk "missing caravans", second is at bottom right of map its a small passage way.

4 - Naga? Here? - Giver "Gunman Reggie"

Top left corner of Jahara Barrens you can find them.

5 - It's Centaur Season - Giver "Royal Guard"

Kill various type of centaurs.

Grom'Gol - Orc Town

Warning: Until you finish "The Valley of Trials" you cannot use portal master to come back here. So first thing is all players must help to kill the Flame Elemental later any player can do the trials solo to unlock status 4 for all players.

Main Quests

1 - The Valley of Trials

After delivering fragments go bottom left corner and use Dust of Summoning to spawn Flame Elemental. Go new opened area and solve all the puzzles, after finishing trials st4 will be unlocked.

Beware: To do trials each time you have to kill the Flame Elemental first, if you take any Main Quest from Tol'Calm Front Gate you have to gather all Keystone Fragment -again- to able to spawn Flame Elemental.

Important Notice: This is where you will find Special Portal Master which is allows you to warp bosses directly by paying certain amount of gold. Bosses are;

Naztar - Karavnos - Crueltis - M'karsa

Crypt Fiend - Ghoul - Arkham - Talus

2 - Temple of Sanctity - (prerequisite The Valley of Trials)

Before you can enter the main temple, the doors will open after clearing the sections that divide into two paths. Spawn spot are invisible, when getting close they will be spawn. At the end of each path mini bosses awaits you.

Naga Guardian > AoE stun around himself.

Naga Ravager > Throws a something on a random player does DoT.

Naga Wraith Guard > Frontal water wave towards who has aggro.

If you take top way; Boss burns the ground its either land OR water players need to change their location to avoid damage each time.

If you take bottom way; She has multishot ability and periodically she gets frenzy buff which gives attack speed.

After clear both path you can unlock the gates, clear inside and "Naztar" will spawn. After slaying the boss, talk to shaman standing near the Chieftain Grak'tol get the Keystone and place on obelisk which surrounded by other obelisks at the Jahara Barrens. Another boss fight "Karrix" awaits you.

3 - Corruption of The Tomb

After slaying Karrix clear both flames "enemy spawn spots" and walk into the top side to unlock st5 for Ancient Orc Tomb.

ACT 3

Ancient Orc Tomb aka AoT

There are 2 way and each of them leads to different boss at the end, they called ice & fire wings. Each wing has own unique enemy and their ability is different. While proceed in wings you will see barriers, to disable them have to slay all enemy to move forward.

Fire Wing;

Ancient Troll Berserker > Periodically DoT on random player.

Ancient Orc Warrior > Periodically DoT & spins.

Ancient Troll Witch Doctor > Places healing wards & serpent wards.

Ancient Tauren Warrior > Shockwave towards random direction & AoE stun around him.

Ancient Orc Shaman > Single target heal ally & lightning strike on player, bloodlust.

Ice Wing;

Lost Soul "Ox - barathrum" > DoT also drains your mana at the same time. Smoke Screen disables spell casting if there is passive active ability on your hero you have to reactive again.

Lost Soul "Ghost - banshee" > Lightning strike & frontal cone spell.

Mana Wraith > Autoattacks drain mana & lightning strike.

Fallen Orc Warrior > DoT also drains your mana at the same time. Periodically use a skill to does a bit higher damage on tank.

Mana Fiend > Lightning strike. Reflects portion of damage you done with skills, auto attacks are safe to use. Reflect depends on your higher ap/sp skill damage & game mode as goes higher. Magic Resistance effects reflected damage you take.

Main Quests

1 - Karnos: The Lord of Frost

At the end of ice wing in a empty room when entering a small puzzle will be start, all players need to stay middle to avoid taking damage and 4x whitish laser will spawn pointing to each corner. Ice shards will start to spawn and trying to reach middle, DPS have to kill them before hit the middle otherwise they will turn into mini Lich which is very troublesome. Whenever a player name announced person have to go corner in order to spawn mini Lich and return back to middle. After all 4x Lich spawned and slayed mini boss appears at the middle, he spawn ice orbs on random spots and send ice wave towards to them when it reach destination creates nova explosion. Below your room Karnos will be spawn.

2 - Avnos: The Lord of Fire

At the end of fire wing in a empty room with fire orbs "in reforged replaced with mini fire boss avatar" you have to use "A" button on those orbs in order to find correct order. From left to right count order is 1-2-3-4-5-6, 4th is always spawn mini fire elementals also when you fail to find correct one its also spawn and at each next fail much more enemy will be spawn. When you find correct orb it will be destroyed but not spawn anything. Among fire elementals only 1 of them has bigger body and casts flame strike. When hitting orbs they do have AoE explosion.

3 1 2 6 4 5

2 4 1 5 6 3

1 6 4 2 3 5

6 5 1 3 2 4

5 4 1 6 3 2

When hitting final orb mini fire boss appears "boss spawn also does AoE damage" and spawn fire orbs by sending fire waves towards them at the end it creates explosion, both wave & explosion does damage. He also summon mini fire elemental throw towards random player which casts flame strike. After slaying mini boss below your room be ready to face Avnos.

3 - Our Beloved Father

After slaying Avnos & Karnos big gates will be unlocked at the AoT "town" for another boss fight KaravnosAfter slaying him enter the middle of pentagram to reach your final destination also final boss in AoT "Muarki". In here wait until all team is ready before stepping inside, if you do that fight will be start and sea of flames will spawn where you stand before.

After slaying him go the Grom'Gol and enter here to take Vjaier quest "And The Next Problem Is..."

Killing Karavnos unlocks;

Status 6 + warping to wings via AoT portal master "shortcut for bosses" + warping to Naztar via Special Portal Master.

Killing Muarki unlocks;

Status 7 + warping to Karavnos via Special Portal Master + Vjaier quest.

Side Quests

1 - Shamanistic Magic - Giver "Shaman"

Find 8 Ancient Tablets and bring back to him, each wing has 4 tablet.

Reward: "Scared of the Dark"

ACT 4

Grom'Gol - Revisited

Main Quests

1) And The Next Problem Is...

Go to Jahara Barrens and kill the Vjaier in the bottom right corner of the map. After slay him go to Grak'tol for next main quest.

2) Revenge

Go to Hidden Valley (picture below) make your way trough until the boss room. Check this link for more details & boss fight.

After slaying Crueltis, last boss is waiting for you at below entrance Tal'navi after slaying him. You will unlock "Status 8 + Ruined Temple access + warping to Crueltis"

ACT 5

Ruined Temple aka RT

Optional Boss "Ortakna" can be found here.

PS: After you warp to M'karsa and set your new waypoint "WP" inside RT. Players who ONLY cant afford to pay for warp CANNOT use the waypoint when settled. Be sure to everyone has money for warp when host the game.

Main Quests

1 - Blood From a Stone - Giver "Vol'ja"

He gives Statue Fragment: Left Foot go your left and place the quest item on the right Guardian Statue to awaken him, statues has total 7 spell and they do always pick random 2 spell from that pool they do also have random auras.

Spell List;

Red Circle on the Ground: He throws a rock to the circle and its linked to him. Rock on hit & touching link does damage. This spell is always available.

  1. Death Mark: “Player Name” don’t let him hit you until he “excess power”. If hits the player KO.
  2. Fissure: Cast fissure where he faces. Small delay before he cast. Stops attacking and freezes momentarily before casting this spell.
  3. Charge: Charges towards where he faces. Small delay before he cast. Stops attacking and freezes momentarily before casting this spell.
  4. Sand Storms: Creates sand storms at random spots. It hurts only if you get close to.
  5. Volcanic Eruption: A volcano appears at random spot and sends fire waves to random directions.
  6. Channeling: He stops attacking and starts a cooldown bar before its reach to end, burst him hard to interrupt taking FATAL damage AoE is also insanely big.
  7. Smash "couldn't find better name tbh": It jumps on tank "whoever has aggro" and throws you to somewhere else does heavy damage.

Few helpful tips for statues.

Smoke Screen + at Death Mark body block the statue + tank at same corner unless Volcano happens and lure him to opposite further corner to avoid spells easily.

After slay first statue we need to find next fragment to unlock RT gates for that go talk to Vindicator Jurtok.

2 - Traversing The Depths - Giver "Kantath"

Find Tablet of Dispelling and bring to him. To find it you have to slay M'karsa get the fragment from in that room to place on 3rd guardian statue to unlock gates for to enter Ancient Hydra boss room which is after slaying her behind area you will find the tablet to take it interact with it.

Reward: Status 9 + access to Inner Temple "IT" + warping to M'karsa

3 - Defeating the Guardians - (prerequisite Blood From a Stone)

After taking Digging Tools go interact with Vision Pool to learn the spot you have to dig. There are total 7 spot and when you dig a spot each time a very strong mob will be spawn. After slaying check vision pool again to find next spot. All locations are in Jahara Barrens. At 3rd spot & slaying the mob will drop the fragment now go place on the last statue to kill him to unlock the gates.

Mobs will be spawn at digging spots have some annoying spells along with random auras. İmportant ones;

a. Red orbs spawn and he sends a wave towards it which AoE explodes when touches it, hurts very badly.

b. Can cast a frontal spell which is face tank him towards other area.

c. Can use smoke screen.

Reward: "Adventurer"

About Ruined Temple & Mobs

Inside RT stay as a group mobs are patrol all time and can spawn at random spot any location even beside you. If you are surrounded go inside M'karsa entrance, ortakna room, fall back to town etc. If you see an enemy with a purple circle on them DPS should prioritize to kill it, that's called Pain Aura does DoT and damage is increases each time passing.

  1. Tidal Makrura; Deals %50 more damage and damage taken reduce by %25 when its HP reach %50. Stuns & damage the players whoever within its melee range.
  2. Tidal Murlock Defender; Jumps on players to apply bleeds, bleed keeps forever until you get healed over %90 of your HP. Sticky Goo, reduce move speed by 176 & -50 armor on player.
  3. Tidal Murlock Shaman; Heal allies. Summon 2x mini crabs each time can’t aggro on them. DPS should kill minis if its chase your healer.
  4. Tidal Murlock Mystic; Cast water bubble on player which drains mana and reduces move speed, on player you will notice some kind water splash animation on your head which is few second later your hero casts frontal water wave where you facing towards and deals damage your teammates.
  5. Tidal Elemental; Casts water wave towards random player, on die spawn 2x mini water elementals killing them creates water puddles on the spot which is hurts the players.

Side Quests

1 - Savage Killers - Giver "Barthalk"

Slay Brutal & Savage mobs. Their base attack damage are very high compared to trash mobs and HP, especially "Brutal Tidal Makrura" most dangerous one. Their size is a lot bigger then compared to other RT mobs.

Brutal Tidal Makrura > Deals %50 more damage and damage taken reduce by %25 when its HP reach %50 it has frenzy animation effect when its active, it has also cleave attacks. 506-1100 base attack damage.

Brutal Tidal Murlock Ravager > Throw NET on player which prevent them moving. Auto attack does poison damage reduces move speed by 105 and attack speed. 419-571 base attack damage.

Savage Tidal Reefwalker > A water splash effect on the ground follows the random players, deals massive damage on touch.

Savage Tidal Murlock Flesheater > Jumps on random player and starts to eat them if don't dps on him longer clings on player more damage does over time. Press H button for your team members to click on him easily. 603-755 base attack damage.

Rewards: "Craven"

ACT 6

INNER TEMPLE aka IT

In here check Ent Vendor he has very nice offhand items.

Inner Temple Mobs

Unlike RT, IT mobs has fixed location there is no random respawn at any point. When you killed a pack their respawn time is 7 minute "at any mode its same timer". Each mob has different kind of auras, reduce healing, reduce move speed. Only aura you should care about is Evil Aura > Insane hps around allies around 150ish. This aura can be so small to notice on mobs, also before engaging with a pack check their auras if you see this one try to lure them out little by little, depends on your AoE dps. Enemy hps depends on game mode, hps I mentioned "150" tested on solo normal mode.

Warning: On this below picture, below the red line is stairs where most enemy are gathered +15 mob, buff your tank and rest team stand at top right areas let him lure enemies little by little don't pass that red line much unless you have to in order to lure. Wait until they come to you/attack, avoid doing any kind of damage if you don't want to aggro whole pack. Lure them near blue line and DPS can freely kill them.

If you confident to survive & trust your AoE dps, charge inside the pack.

Any chance if you aggro whole pack run to the gate on your right below area check top picture with red arrow points it to reset pack.

Ghosts > High base move speed and passive slow aura, reduces move speed by 177.

Flesh Golem > Auto attacks has high chance stun & critical hits, also cleave attacks. On hit also debuff players does DoT and receive less healing.

Spider > Throw NET on all players within its range which is prevent them moving, also does DoT.

Pudge > Each successful hit they do release a poison cloud on spot, 450 AoE and does DoT its lasts 40 second.

Skeletal Archers > They do have random passive abilities only important one is "Searing Arrow" Pure damage on hit also has AoE effect care when tanking near your team members.

Killing priority should be always pudge, rest is tbh depends on pack which mobs with what abilities kill them in order. Some cases pudge can be kited OR if its chase your DPS "depends on that player" ignore it if he/she can solo handle 1 mob, in those cases sometimes tank try to chase the mob and mobs like golem can cleave your team as tank pass near team in order to reaggro. You get the rough idea I hope.

Optional Boss "Zanatath" can be accessible after clearing "Meat Wagon"

Main Quests

To proceed in IT start taking 3rd quest first, after clearing biggest room at right bottom take  "4th quest" wagon quest. After kill all wagons proceed for Crypt Fiend.

1 - The Lost Soul - Giver "Grunt, left one"

After finishing Meat Wagon quest Crypt Fiend is accessible. After slaying him he will drop Statue Fragment: Left Arm take it and place on Guardian Statue you saw before. Slay him and go back inner corridors, on your left that big portal is Ghoul boss room.

Reward: Status 10

2 - The Restless Soul - Giver "Grunt, right one"

Slay Crypt Fiend > take fragment > kill statue > go back to inner corridors at left there is a portal > Entering portal instant starts fight with Ghoul. Check Quest 3 now.

Reward: Status 11 + warping Crypt Fiend

3- The Twins - Giver "Chief Laktor"

Taking this quest disables the barrier on your top and spawns the mobs inside IT. Now for to reach The Twins, kill Ghoul and walk into portal to summon Ultimate Guardian. He has all kind of buffs you encountered in temple areas and same spell pool access from other guardian statues. Main problem here is circle on the ground if you get caught you will get stunned like 10 second. Wear "Sober Guard" for that.

Reward: Status 12 + warping Ghoul "fragment will spawn on your feet". WARNİNG: Warping to GH via Special Portal Master, prevents you to enter CF room permanently.

4 - Meat Wagon - Giver "Ent Vendor"

Taking this quest spawns 4x Meat Wagon and mobs, but DOESN'T disables the barrier. Their base attack damage is 1451-1472 & splash on hitting the ground, 2000 range attacks. They have pretty decent SELF hps same as Evil Aura "150 hps". After killing all wagons barrier will be disable inside the gate "inner corridors". Later take right path leads to another smaller gate which is Crypt Fiend boss arena. As tank let them hit you to get aggro.

Reward: "Overgrown Leggings" OR "Braveforce" , you can fill your inventory with trash items and turn the quest in order to drop the reward on the ground.

ACT 7

EMERİTH - Status 13

New and next tier shops, also this is where you manage your pet "click here".

Below picture "Merchant Adams" click on daily gift to get free gold up to 1>5k gold OR if you lucky can even get 66k or 666k which is very rare.

Ommog Zone "Eastern Road" / Ommog Tower

Only for those who finished their class assignment quests can enter this region.

WARNİNG: Before going road & tower always restart your game it causes desync for players.

Talk to Elder Ranger Sophia afterwards go Grom'gol and enter the cave at the top area find Ancient Shaman talk to him.Now go Vjaier room below area is called Eastern Road, those flame spots are "spawn points" there are also patrol mobs randomly spawns and wander around. Also 2x mini boss at fixed spot.

Mobs Respawn after 7 minute after clearing spawn zones.

To reach tower you have to clear all spawn spots to unlock the gate at the end of road.

While farming road can get 3 different epic gear.

Drop rate: 10% chance per each item on Normal, 50% on Legendary, 100% on Heartcore, 2x on Nightmare.

Top Picture, set your waypoint and kill 1st mini boss. He has mana drain ability can deplete it nearly instant. On death drain all players mana pool & reduce hp to near death situation. Use the healing scroll on the ground near that spawn spot. After barrier disabled move forward.

1st Epic Drop: "Cloak of Wind"

Below Picture, let your tank enter first to get targeted by catapult when he get close to flames stones will spawn which is block your way. Catapult attacks when touch ground creates a burning effect on the ground hurts badly, tank needs to stay at left side as possible as much to not spread burning effect. While your melee/ranged DPS freely destroy ALL stones "which is require to unlock gates too". Where catapult stands there is a spawn spot "can be hard to notice" try to kill catapult with ranged DPS later clear that spawn spot.

2nd Epic Drop: "Gloves of Energy"

Below Picture, 2nd mini boss. He jumps between players deals damage, activates a flame shield until its broken he wont take any damage. After slaying him & if you cleared all spawn zones along with big stones, gates will be unlocked.

3rd Epic Drop: "Quicksilver Boots"

After passing gates you will receive fixed experience reward "whatever your bonus XP doesn't effect how much you get". If you hit level limit for completing road quests, do it in higher difficulty to get XP again.

Ommog Tower

1st floor - Parvin BOSS

On each floor you have to clear all blue mob spawn spots to proceed further, after clearing 1st spawns 6 second later 2nd pack will spawn. At the center there is waypoint & spawn spot "3 pack spawns instead 2" on the ground each 10x all emerith elixirs can be found.

Reward: Status 14

2nd Floor - Villard BOSS

After slaying villard set your waypoint. Final flames spawn 3x pack.

Reward: Status 15 + Access to ommog portal master.

3rd Floor - Arkham BOSS

Your whole movements has permanent reverse controls. If you click top your hero will move to bottom etc... to move around more easily use "A" button and click on the ground to move your hero if you wish "this is works best if no enemy around". Before fighting with Arkham clear the right pack too some players sometimes unintentionally can trigger it while fighting with him. If someone still inside the arena ONLY and when players die they respawn at entrance because of gravity pulling effect you might slide near spawn point.

After slaying Arkham at the end last spawn point there is a Unique Magic Knight you have to slay in order to proceed next floor. Except tank all players needs to stay at left side of the wall and tank stay right side of it to tank him. This knight has stat drain + cleave + stun + critical hits and can split into 3, try to not face towards to your teammates, when he split each you have to aggro them each time so save your AoE spells for that as tank. This is why your team members have to stay at other side of the wall since there is no guarantee you can aggro them each time also they vanish earlier until reach your team barely able to land 1-2 hits. If 2nd & 3rd pack spawn ignore them do not change your position let DPS kill them when they get near them. After killing him first time you have to kill 2nd time to get rid of him for good.

PS: To locate main body select the target and type -m1 OR -m2 those commands will create red & blue arrow marks on the target. -mc clear all the marks. When killed first time barrier will be still disables to enter 4th Floor so when he respawn keep him busy until your team get into next floor. Also when entering next floor press "H" instant to avoid accidently trigger spawn spot on that floor. Players sometimes think they still have reverse controls that's why.

Reward: Status 16

4th Floor - Arthas BOSS

Set your final waypoint in here before engage with Arthas.

Drops a special rune item that can be used to upgrade a Level 39 Twins weapon to its Level 45 counterpart at a 50% success rate.

Has no other drops.

"Reduced" denotes drop rate if 'Remove Ommog Respawns" option is used.

  1. - Normal: 10% chance (Reduced: 5% chance)
  2. - Legendary: 45% chance (Reduced: 23% chance)
  3. - Heartcore: 100% chance of 2 runes (Reduced: 100% chance)

This info taken from https://pastebin.com/nnKThi4K "TKoK Miscellaneous Data"

Personal Note: If you upgrade your weapon w/o forging into +15 and if rune success you cannot forge your weapon further. Example +9 twin weapon as Level 45 cannot be upgraded anymore via "shaman forge".

Reward: Status 17 + warping to Arkham

Final spawn zone has a Unique Caster seriously annoying lots of debuffs, insane damages, self heals. Burst hard as you can to take him down asap.

Boss Room - TALUS

Reward: Status 18 + access to ommog shop

Boss Room - RİPPER

Reward: Status 19 + warping to Talus